Monday, October 20, 2014

New Knitting Toy: a Wonder Knitter

This is a Wonder Knitter. It is a fancy I-cord maker that is relative to loom knitting. I've had this toy for several months now, but this is my first time using it.

I've had intentions of making different objects out of an I-cord, primarily a type of necklace or two, but I have to admit that there's also a wee-bit of interest in seeing if this device is any faster than making an I-cord the old fashioned way (two dpns).

You can find a YouTube tutorial on how to cast-on this loom (it's a little confusing the first round), but the rest is the same technique. I've been experimenting with turning the dial using my left hand thumb while "knitting" simultaneously to make things fun faster.
This is the dial with the three pins. The set comes with two dials (3 pins and 6 pins). I do not care for the dial with three pins for the sport yarn weight that I chose. The dial with 6 pins have pins spaced a smidgen closer, so maybe that will be a better choice if you choose to go light on yarn weight.

I have a infinity necklace/scarf project in mind for this Wonder Knitter with another type of yarn that I've been saving for a rainy day, although unfortunately while looking for a tutorial on how to cast-on for this loom I found that the necklace idea is not unique. :(  I'll try to jazz it up differently. Stay tuned.

Saturday, October 18, 2014

The Woolies emerge

It's that time again: the cozy woolies emerge from a long hibernation during the warm months.

It's a cold reminder of how freezing last winter was, and how much I should have been knitting new woolies during the past few months knowing that this winter could be just as bad. Or worse.

Remember that entire winter last year (and I'm not talking about YOU, southern states and countries... lucky ducks), walking outside and cursing under your breath because it felt inhaling daggers down your throat? You know, the winter that kept the snow on the ground the entire three months and was nearly -25 degrees F the whole time? The one that was bad enough that we had to drip water so that the pipes wouldn't freeze and burst? Yeah, repressed that a bit, didn't you?

Well, fall is in full bloom, but winter is coming, and my knitter's instinct is kicking in: "Crap! Hurry up, I'm late to the winter-knitting game!"


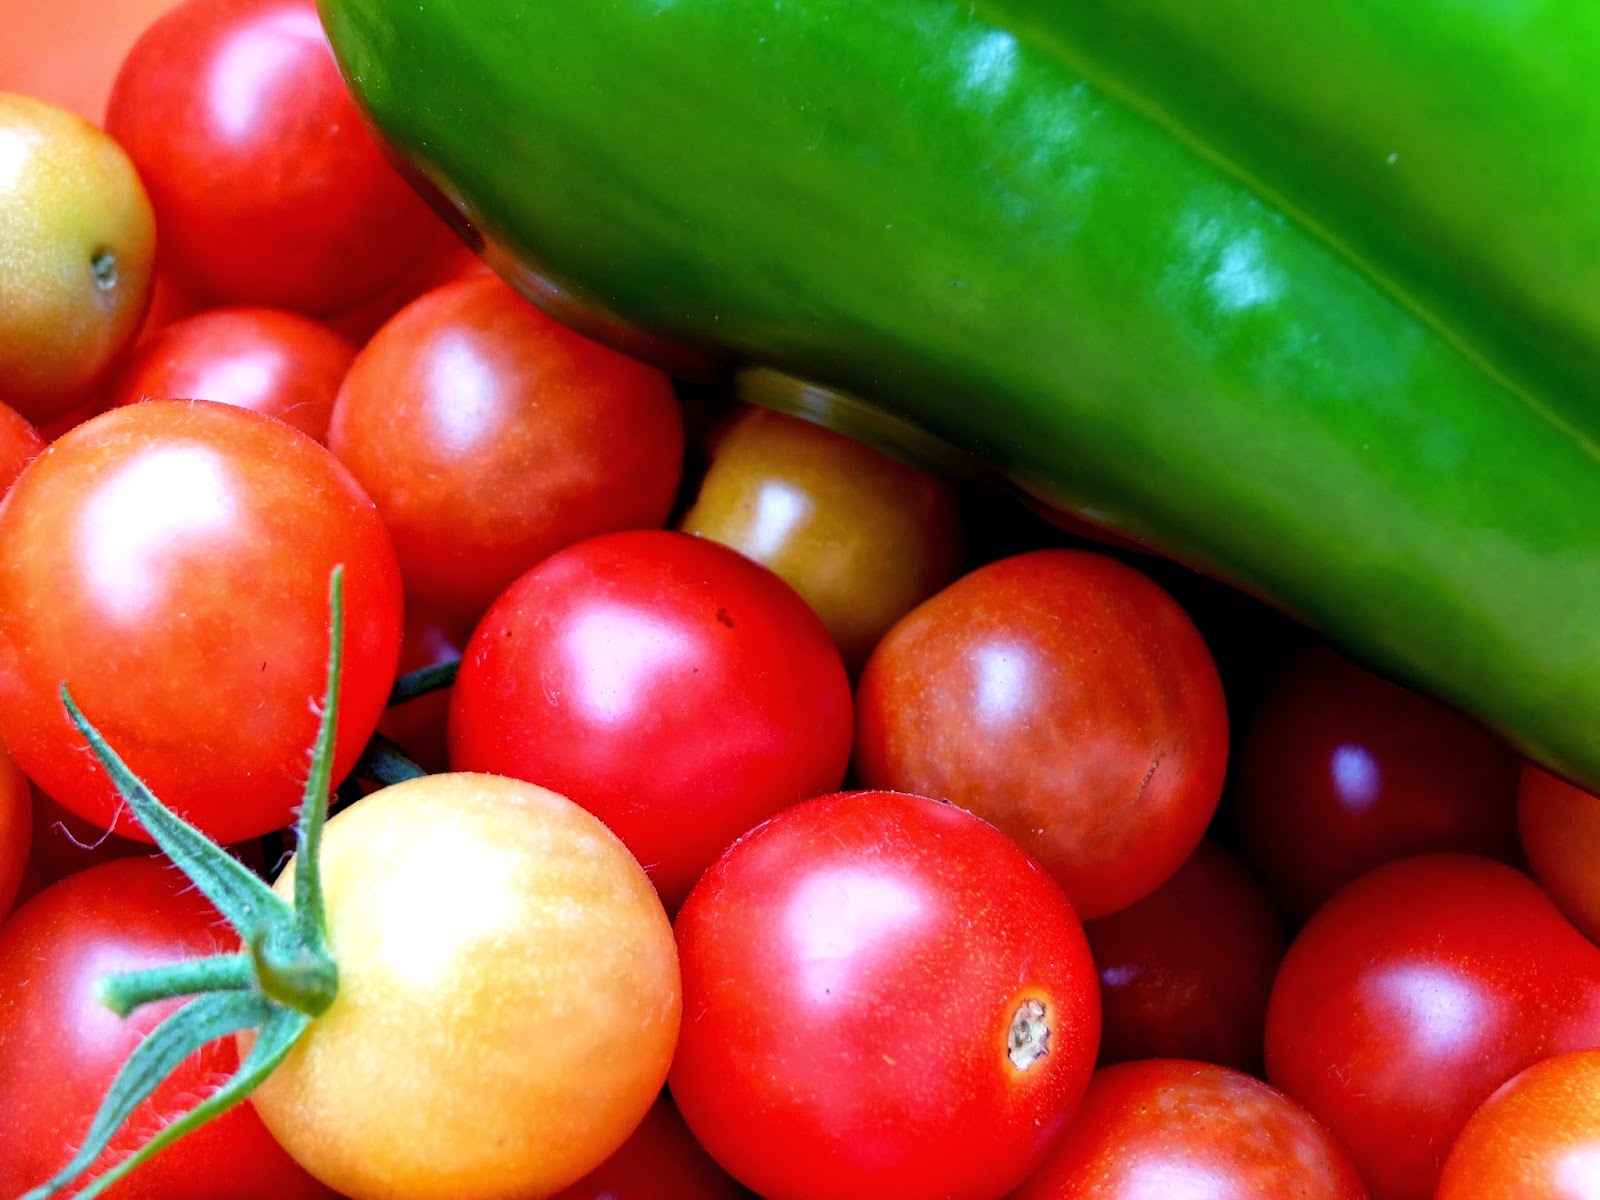
Meanwhile, I'm still enjoying strutting around in my fox thermal shirt while wearing my "Frozen River Slouch" and "Double Looped Scarf" while trying to forget that the temperature may drop so low tonight that my tomato garden might not recover tomorrow.

What's your favorite go-to knit that you have made in the past?

Sunday, October 12, 2014

Halloween Knitting Party!

One of my favorite authors hosts cyber book parties on Facebook every time she releases a new book, and they are big hits. You post photos of what you are "wearing" to the party, what you are "bringing" or "drinking" (and these are in quotes because a lot of people post things from Pinterest because they are photogenic!), and she will give away books every so many minutes while people chat. It's fun! 

I'm not really releasing anything (although possibly the Baby Monster Hat from the last post), but I thought it would be fun to throw a knitter's Halloween party in the same fashion! I plan to give away 5 patterns at random (that you actually can vote on right now in the event page)! So join the KUAS group and RSVP to the event HERE and let's celebrate! 

Date: Mon, Oct. 27th 
Time: 7pm-8pm (Central Time)
What to bring: photos and things to chat about!

Saturday, October 11, 2014

Itty Bitty Monster Hat

I have a friend who just gave birth to her second son. In the spirit of the Halloween season, I wanted to make her baby a wee monster hat.

(I think it came out a little kookier than I anticipated.)
It started off conservative. I improvised a basic hat shape that began with a crochet edge method for a nice clean look. I planned from the beginning that I wanted monster eyes. So I learned (or re-learned) how to crochet in a circle. I decided to do double crochet.
Then, honestly, things got a little carried away. First there was the crazy and whimsical i-cord mouth, then the silly teeth, and then a ball full of hair on top.
It's mighty silly. I wonder if it's a little over-the-top for a newborn to sport.  Even around Halloween? It might be a little more toddler-oriented. What do you think? Should I make another and dial it back?


Monday, October 06, 2014

5 Halloween Piano Solos (to please any Ghoul)


I am running a GIVEAWAY contest for you late-elementary to intermediate level pianists out there! I am publishing this e-book that will be released in the middle of this month. Meanwhile, on Facebook, if you write about you favorite Halloween memory as a child, you can be chosen to win this book! Spooktacular!

Contest deadline: October 10th at midnight (CT)
Contest winner chosen on entry page: October 11th.

If you don't play yourself, enter to win for a friend, family member, or music teacher. :)

Pieces include:
1. The Goblin Trot
2. Halloween Moons
3. Haunted Mansion (#1 seller)
4. Ghostly Chills
5. Spooky Town (#2 seller)

Tuesday, September 30, 2014

Craft Tutorial: Fall Acorn Decor

Happy Fall!
I came across this cute craft project idea recently. I'm not sure if I pulled it up from the depths of Pinterest or one of my fall-related magazines that just came in the mail, but nevertheless, here's a cute and easy acorn decor project that leaves a BIG impact! Would you like to learn how to make one (or more) of these?
*ACORN DECOR TUTORIAL*
 
MATERIALS:
1 (or more) acorn squash
Glue Gun (low temp is fine)
3-4 glue sticks per acorn project
A 3/8'' x 50ft manila rope bundle (approx 12.5 feet per acorn.)  

This project is roughly $4-$5 per acorn (pennies for glue, $2.25 per 12.5 ft rope, plus $2-$3 per acorn) 
You can get up to 4 acorns per rope bundle.

STEPS:
1. Warm up the glue-gun. Make sure you rest it on a plate or cardboard. You'll thank me later.

2. About an inch or so higher than the middle section of the acorn, start your first row of rope. Glue the end very thoroughly to the acorn, and glue like no-one's business in 1-inch sections (press the rope down immediately), spiraling all the way around the body of the acorn. If you glue too much in advance, it will harden too quickly on the cool skin of the acorn.

3. Once you have reached the tip or handle of the acorn, start wrapping and gluing in a spiral fashion around the "handle" of the acorn just like the body. This will be about 3 rows.

4. Cut the rope and glue cut-end securely down so to not have any pesky fraying.

That's it! This will look great next to your pumpkin and gourd display. :)
I'm so back-logged on photo editing. I have photos on trips and activities, an awesome restaurant-worthy Irish Beef Stew recipe and of course knitting to show you when I get some more spare time!

My old best friend just had her second child. I was going to make her baby (and 1 yr old toddler) a cute owl hat! Here's the beginning of it:
I used a chained cast-on method to have a nice accent color. It finishes the ends off nicely. Much better than single-crocheting after it's finished. It's actually worked 2-needle style.

Monday, September 01, 2014

Mish-mash Monday

This is just a mish-mash post of several things that I should have posted in the past, but haven't yet. This first is the most recent finished objects: earrings.
These are teal chandelier earrings that were really simple to make. I basically bought the chandelier part pre-made on clearance at Hobby Lobby and attached a jumper and earring piece.
 The next pair of earrings, Native American looking arrow pieces, was just as simple.
This next photo was from my Forget Me Not Shawl and I had so many photos of the finished project that I didn't post anything else. This is a photogenic photo of the bobbles. Love it.
Next, I forget to post a really neat present that I made for Mother's Day: Edible Arrangements. They looked so close to the real company's that I fooled them into thinking that I bought them $150 arrangement!  Not kidding, it would have cost that much, and mine still would have had more fruit. I made three total arrangements, the third (not shown) was a smaller one for my grandma in a flower vase.
I had fun. It took a couple of hours, but it was worth it.
Next, what gardener wouldn't do an update on the garden?
Our tomato plants are growing so tall, that it is making it's way up the tree behind my garden. I can't even reach the new growth without a tall ladder. The cucumber plant also has found nearby branches and have clung to it to keep growing vertically.
And lastly, I planned on making two posts: a frogging effort and a post on my special wall for yarn.
For now, I'll leave you with this photo, a small bin of projects (and the blue one, "Frozen River Slouch" is finished) that bin used to hold about 45 projects!
Happy Labor Day! Now get knitting!
I've got a "Pumpkin Ale" update coming soon.The boys start preschool tomorrow! AH!

Saturday, August 30, 2014

FO: Where Bohemian meets Egyptian goddess


I have friend who really likes the jewelry that I have made in the past and shares with me an eclectic sort of personality.

I know that she loves wearing sparkles in whatever outfit she wears, so for her birthday I decided to make her a very "Bohemian meets Egyptian" looking necklace that makes you feel like a goddess.

Hopefully she has a  cute outfit to match.
Now, here's what the necklace looked like before I made it more Bohemian by adding the ribbon. I'm torn on whether I helped it, or hindered it's look. I will tell her that I can simply take off the ribbon from the metal jumper if she likes the original look more. My husband likes this version better. Bah!
My inspiration for this ensemble was these flower beads with the attached clear bead under it. I attached the metal spikes at the base because I think that it really gives the earring that extra punch that it needed as dangling earrings. It reminds me of shooting stars. The earring itself is plated in gold. If it's your birthday, I'll go the extra mile and not go all El Cheapo on you with value-pack gold-colored earrings.

Next, I decided to glue on Swarovski crystals on the flower portions of the bracelet to give her the sparkle that I know she would want. I absolutely love this next photo. It looks like a crown!
 I hope she loves it, and it's not too over the top.

 More jewelry posts coming next, and an update on my "Pumpkin Ale" Sweater.

Thursday, August 28, 2014

WIP: gettin' on my Pumpkin Ale (again)

Oh, no! It's that time of year again! School starts, the weather shifts (more or less) and this blog starts droning on and on about the perks and tastes of fall! Ah!

Whether you are a veteran of this blog, or a newcomer, one thing's for certain: you'll notice that nothing gets my hiney more in gear for knitting than the fall. I've had Ysolda's "Pumpkin Ale" sweater on hold since the end of the new year until I realized that YIKES, it's nearly fall and this sweater is still in it's infancy.

Let's get real, though. Really real.
Do you know that feeling? The one where you had a pattern really organized, making hand-written charts next to the instructions and slashes to clearly tell you where you were in the pattern...just in case you took an absence? Then, after that "supposed" absence you realized that, oh, here's the cool project I started a year ago and then BOOM...where the heck is that pattern?!?

Yeah, came across that today. What a totally deflating feeling. Grr!
I searched high and low for this coveted marked-up pattern to no luck.
So the problem wasn't the pattern itself. I could go onto my Ravelry account and print off a new one (this is why you should buy your non-book patterns via Ravlery). I needed that special pattern that I marked on. Do you think that this sleep-deprived mom of two can remember where she was (especially when the designer dictates to do "X-amount of of rows in pattern" after every instruction), let alone know what size she started the pattern on?

Well, one thing's for certain. I wasn't about to frog the thing. I'm far too invested in this miniscule 12 or something-inch project. No, I was just going to have to Nacy Drew the mystery until solved.

It took a while to figure out the best way to find my exact row. I tried to go by decreases, but that wasn't a great idea. It was dang-hard to figure out where those were. They blended in too well. Pesky things, they. That, or I'm blind.

No, it finally dawned on me that I could use the mini-cables to light my way. I could clearly see how many they were, then see how I was in the middle of the next mini-cable, and figure out from the beginning of the instructions that there were 6 rows before the first mini-cable. That came out to 64 rows completed. Mystery solved.
I think. Maybe I should check my math.

I'm still wishy washy on the size, but I figure that I can alter it if need-be since I'm only on the back. That, and I lost some weight since last year. :)
But where the heck is that frickin' pattern???

Friday, August 01, 2014

WIP: Afghan Border Control

 Hey All,
I'm still here. Sorry for the absence. It's been a crazy-busy summer, filled with reunions, illnesses and back-breaking landscaping in the front and back. However, I am picking up this afghan at the end of our long days and working on the border, bit by bit.
 It's a mesh-like lace pattern that suits the afghan well as the lacy waves spills out beyond the afghan body ripples.
Our property underwent a major change. We had a few dead trees-one being a very large Ash-and some dead shrubbery, and we basically removed most of the front's landscaping and redid it with new plants and some paver stones. I'm still trudging through the 5 yards of mulch that I bought for the front and back. This project took us 5 times as long because we had no idea that there was a foot of rocks embedded in clay soil everywhere that we wanted to plant or dig for the pavers. What a nightmare!!! However, even though the plants are not mature yet (it will grow tall and bushy), you can see that potential for next year's growth below. The Purple Fountain Grass (there's 5 of them) and Russian Sage should get pretty large in the future:
I've also started landscaping in the shady area in the backyard that couldn't grow grass. I can finally see the light to the end of this landscaping tunnel.

Sunday, July 06, 2014

Jewelry: Ecclectic Bird Necklace

Hey guys, this is my favorite jewelry-making of the three posts today.
The matching bracelet hits the notes of the necklace, but on a toned down scale. 
It looks super cute with a dark denim dress (note: dress fetish of mine lately) .
The bird was really the inspiration for the whole thing. I wanted red to be dominant, like the red flowers on the branches, but accented pops of blue/teal. I mixed layered beaded (stretchy) wire with a bronze chain link. It was my goal to get the bird to be offset by roses in a asymmetrical way.

I have already gotten so many compliments from family and friends on this on how unique and sweetly eclectic this looks. I'm already getting requests to make them one. Eek!

Jewelry: Fourth of July Dangling Earings


MATERIALS
2 Silver Earring hooks
2 silver eye pins
4 silver Jump Rings
6 Glass beads (2 each in red, white and blue)
6 lengths of 8 small linked chains (about 1.5 inches long)

DIRECTIONS
Thread red, white, and blue beds onto eye pin and close with a wrapped loop. Make sure the red bead is next to the preexisting loop on pin. Using the wrapped loop end (which should be the blue bead side), attach a jump ring containing three linked chains. Finally, attach the earring hook to the top of the eye pin with the red bead side. Make second earring.

Enjoy. They remind me the shooting stars, American style. 

Twin love at the beach.

Jewelry: Purple Prayer Pendant Necklace

I have a friend who is going through a rough time, emotionally and physically. To cheer her up, and to help her know that she is in my thoughts and prayers, I experimented with jewelry making as a symbolic gesture of these following things being with her:

Purple: for peace and healing
Orange: for energy and optimism

And a little angle watching her back:
It's a fairly simple necklace. I mainly did a spiral coil design to hold the pendant and little jump rings with glass beads, besides the cute little angel charm hanging out by the toggle clasp. 
I'm still getting the ropes of things, but I have a few more Jewelry pieces to show you in the following posts that get even cuter. Making jewelry is a fun little outlet for quick projects to show off, especially during the hot summer months, with cute tanks and dresses. I'm sort of developed a dress fetish lately. :)