GRAFTING 101 TUTORIAL
No sock or mitten with fingertip shaping should be completely without grafting. It is a relatively easy process, and I hope by the end of this tutorial you feel completely comfortable grafting all of your projects. The end result should be a seamless connection between the stitches on the two dpns.
Preparation Steps: A & B: complete steps A and B once.
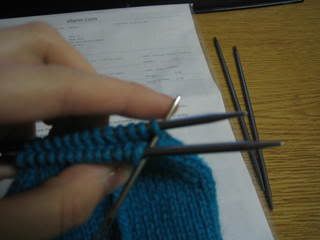
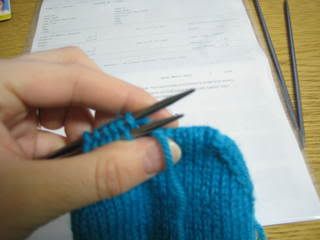
Make sure that your stitches are equally divided between two dpns, and that your working yarn is on the right.
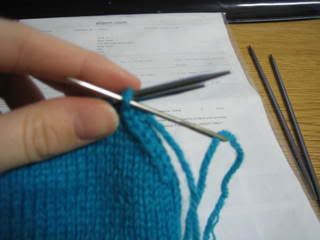
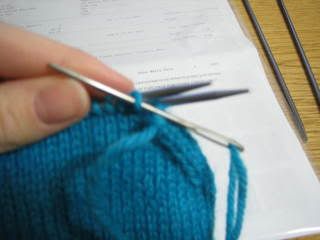
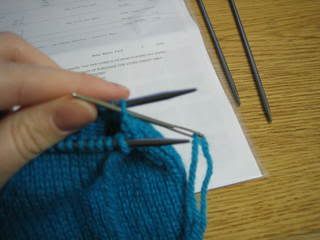
PREP STEP B: insert the darning needle into the 1st stitch on the back needle, as if to KNIT. Pull yarn through. Leave stitch on needle.
Repetition Steps 1-4: repeat until you run out of stitches
Sing this grafting boot-camp tune: KNIT-PURL-PURL-KNIT!
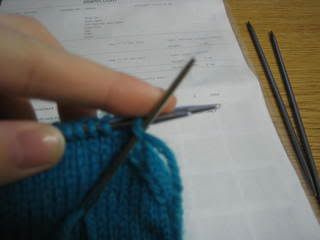
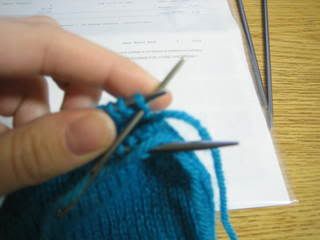
STEP 2 (Front needle): insert the darning needle into the 1st stitch as if to PURL. Pull yarn through. Leave stitch on needle.
STEP 3 (Back needle): insert the darning needle into the 1st stitch as if to PURL. Pull yarn through. TAKE STITCH OFF NEEDLE.
STEP 4 (Back needle): insert the darning needle into the 1st stitch as if to KNIT. Pull yarn through. Leave stitch on needle.
*Repeat steps 1-4 until all of your stitches are used up. Secure with a knot on the WS of your work and then weave in the yarn. Then Voila!! You just grafted!
TIP: Some knitter choose to use a tool called a "darning egg" that they put into the toe of the sock to help them graft evenly. It's not completely necessary.
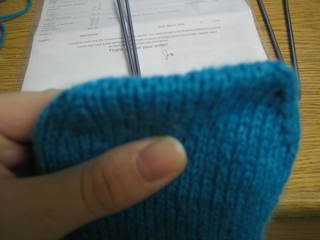
Your grafting should look seamless, as the V stitches should line up vertically between the front and back of the toe:

No comments:
Post a Comment