AFTERTHOUGHT HEEL TUTORIAL
Pattern example: Star-Edged Socks by Anna Maliszewski
"Oh The Woe!" Sock Knitter Scenarios For Favoring Afterthought Heels:
SCENARIO 1: your trudging through your cable/lace work. You're really hooked on that pattern...cause you're finally getting it down-pat. And after a good 4-6 inches of leg work, you're like, "oh man, now I have to set aside the pattern, knit a 2.5'' heel, turn the heel, deal with picking up stitches on the sides, and working the gusset decreases before I can f-i-n-a-l-l-y get back to the pattern, figure out where I left off (or where I set the pattern and cable needles down at), and try to get into the cable groove? Woe is me!
SCENARIO 2: You're at the movies, or somewhere away from home, and you're knitting your sock in stockinette because you don't have to look down too much, and you finally make it to the heel. Are you honestly telling me that you can fiddle with the heel steps in the dark? If you can,
can I please borrow you're super-powers?
SCENARIO 3: You like being unconventional! Oh, snap!
A tutorial on how to do the Afterthought Heel:Special note: I realize that in Part 1, my work is inside-out in the photos. When I knit with dpns, I usually like to knit this way because it's easier on my hands, even though it's non-conventional. Not all of the photos are setup this way.
Part 1: the set-upStep 1: knit up to the point where you would place your heel. A heel traditionally uses 50% of your total stitches. Depending on the sock pattern instructions, you may knit half the round with your working yarn before you knit the heel stitches with waste yarn, or you may be asked to begin the heel round with the waste yarn right off the bat.
Jeez, manners!
Note: the stitches are distributed as thus, whether or not you choose to use 3dpns, or 4 dpns for your sock: 50% of sock stitches= front (I usually use just 1 dpn for this) and 50% of sock stitches for the heel (I split these into two dpns, 25% of stitches on each).
However, for the sake of simplicity, I start my heel right off the bat on the first 50% of my stitches (ex: 32sts) in the round, although it makes no difference if you choose otherwise.
Step 2: You'll need about 20'' of waste yarn in a contrasting color for each sock (with the same thickness, or a tiny bit thicker yarn than your sock yarn). Drop the main working yarn and knit the specified heel stitch amount with
waste yarn.
Step 3: After knitting the specified heel stitches, drop the waste yarn, pick up the main working yarn again and continuing working on your current sock pattern in pattern.
Step 4: Upon the following round, you will knit over the waste yarn and will forget all about the heel until after the completion of the sock, so continue on with your merry knitting way, doing whatever you need to do until you have decreased the toes and grafted the remaining toe stitches together. Try to snicker a little bit like you "went around the system" and are doing something scandalous. It's more fun.
Note: when you are supposed to knit a certain amount of inches before the toe shaping, measure from the waste yarn line.
Part 2: Releasing the "live stitches"
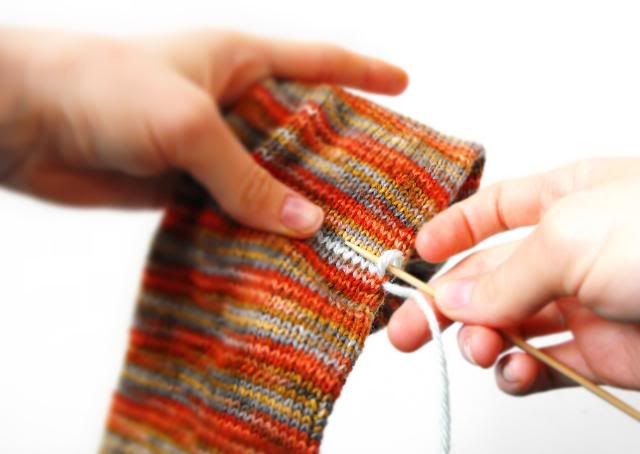
Step 1: It's time to unravel those saved stitches, now that you're done knitting the rest of the sock. whether or not your strand is hanging out on the "right side" of your work, or some how found it's way hanging out on the "wrong side," pull at the first part of the stitch on the right side of the sock, and pull the waste yarn strand out to release a stitch (actually, two stitches total per waste yarn stitch--refer to Step 2). The bottom stitch is being released in the photo below.
 |
| Figure 1 |
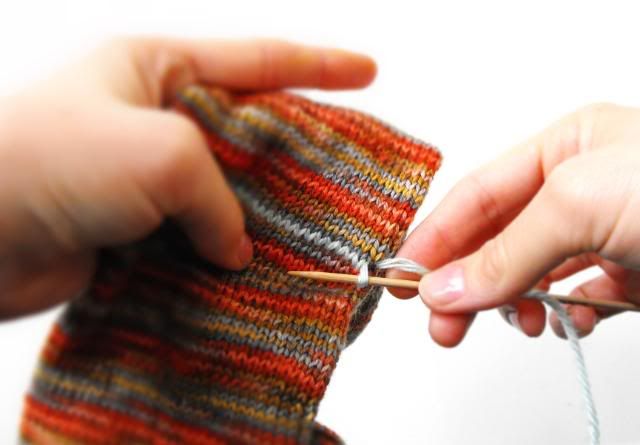
Step 2: Now pull out the rest of the waste yarn to release the second stitch from that waste yarn (see photo below).
 |
| Figure 2 |
Step 3: Keep following steps 1 and 2, pulling out the waste yarn stitches, and immediately transferring them to dpns- one for the top dpn, one for the bottom dpn.
 |
| Figure 3 |
 |
| Figure 4 |
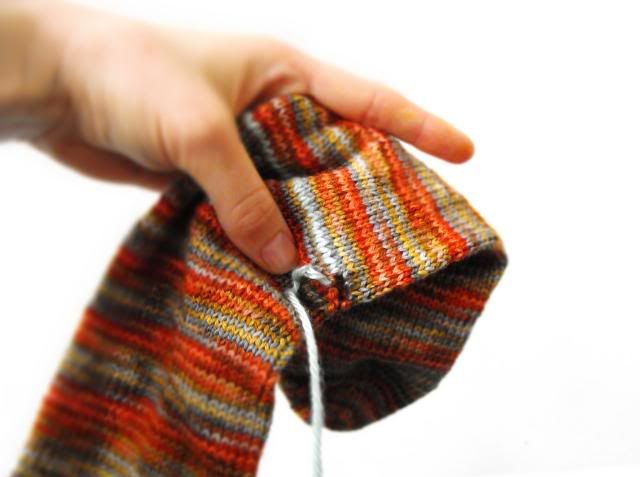
Step 4: Continue releasing all of the "live" stitches and putting them onto their proper needles. Once you have reached the end, count the stitches. They should be equal in number and should each have 25% of the total sock cast-on amount
. Example:
for a 64 st sock, you should have transferred 16 stitches onto the
bottom dpn and 16 onto the top dpn (for a total of 32 heel stitches)
 |
| Figure 5 |
Part 3: Working the heel decreases
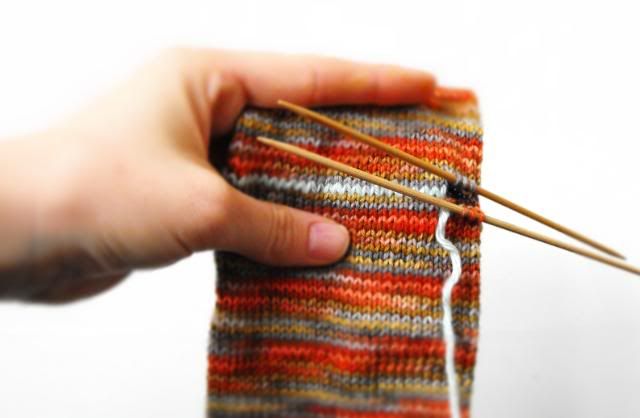
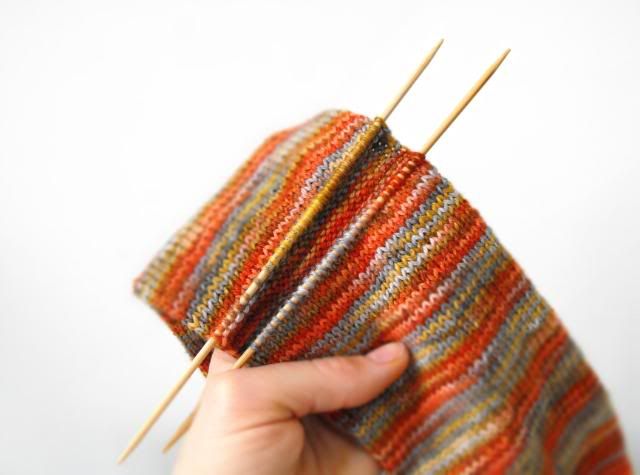
Step 1: Divide your heel stitches evenly among 3 or 4 dpns, depending on your preference (both needle preferences will have instructions for heel decreases.)
3 NEEDLES: This requires a 50%-25%-25% stitch distribution among your needles, and uses a "stitch marker." If you prefer to work only with 3 dpns, arrange your needles so that the heel has two needles (25% each of those total stitches) and the top part of the heel has one needle containing 50% of the total heel stitches, or simple all the stitches originally on it, with a marker in between half of the stitches.
Example: If working with a "32st heel," the bottom dpns get 16 each, and the top needle has 32 sts total,
but needs a marker after stitch 16.
Needle Numbers: The bottom left needle is needle #1, the top left needle is #2, and the bottom right needle is #3.
 |
| Figure 6 |
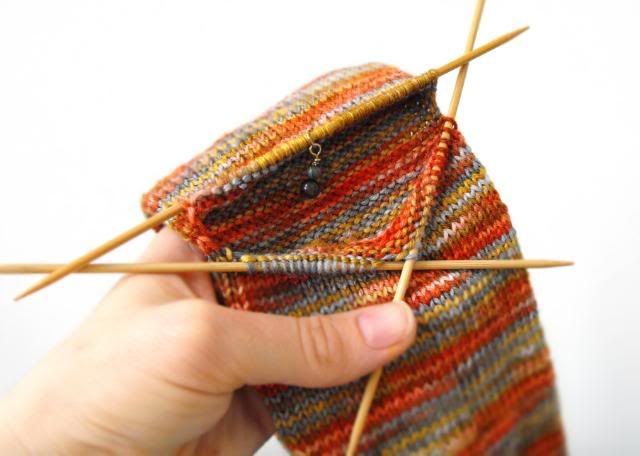
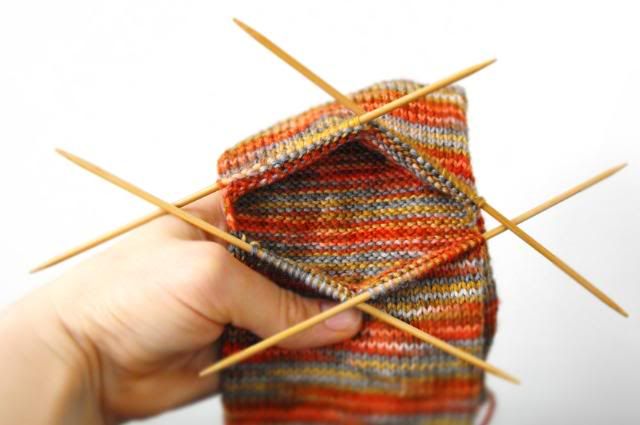
4 NEEDLES: divide your stitches up completely. Each needle will have 25% each of the total heel stitches. This means that you will just slide half from both the top & bottom of the heel parts on two two different needles. Use a saftey pin or place marker to indicate needle #1: between the two bottom stitches (where my thumb is).
Needle Numbers: The bottom left needle is needle #1, the top left needle is #2, the top right needle is #3 and the bottom right needle is #4.
 |
| Figure 7 |
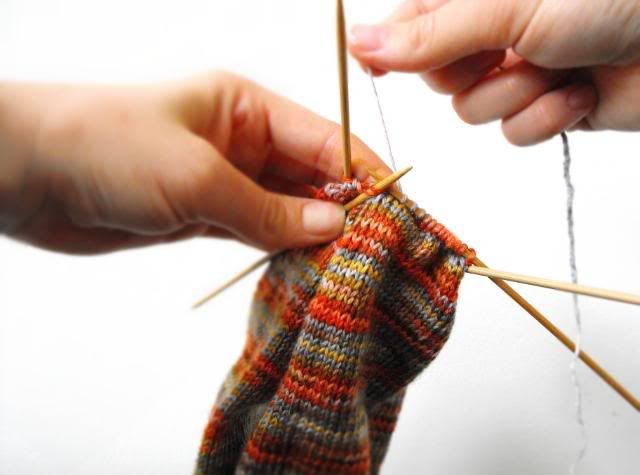
Step 2 (for all dpn methods): Attach the yarn before Needle 1, and work the decrease rounds until you have
5 sts left, or 20 stitches total. End with one last knit round.
For 3 needles: Rd 1: All needles: knit straight.
Rd 2: Needle 1: knit to last 3sts; k2tog, k1.
Needle 2: k1, sl1, k1, psso, knit to the last 3sts; k2tog, k1.
Needle 3: K1, sl1, k1, psso, knit to the end.
For 4 needles: Rd 1: All needles: knit straight.
Rd 2: Needle 1: knit to last 3sts; k2tog, k1.
Needle 2: k1, sl1, k1, psso, knit to the end.
Needle 3: knit to the last 3sts; k2tog, k1.
Needle 4: K1, sl1, k1, psso, knit to the end.
Trouble-shooting:
Closing the gap between the needles: I will use the 4 dpn method example. Refer to figure 7. To avoid big gaping holes at sides of the heel decreases, knit the last stitch of needle 1 with a stitch made in the gap between needles 1 and 2, and ssk a stitch made in the gap between needles 3 and 4 with the first stitch from Needle 4.
 |
| Figure 8 |
Feeling a bit snug? Try on your sock before completing all of the decreases. It's good to do this when you only have several more increases left. If you fear that your heel will not fit, you can slow down the decrease process a bit by adding one more "knit straight" round before the last few decreases.
Example: *knit 2 rounds straight, then do a decrease round.* I recommend that you keep trying on the sock though, if you do this. You might not need to slow down the decrease process that much!
And voila! You have a beautiful heel that looks just like the "Basic Toe Decrease." Notice how it goes great with variegated yarns? Neat, huh? The variegated green heel swatch was from my "Irish Spring" colorway. It makes me want to knit up another pair of these socks now.
I bid you good knits! Have fun knitting up Afterthought Heels! I hope this tutorial helps you out!
Check out my pattern "Star-Edged Socks" to make a pair for yourself.

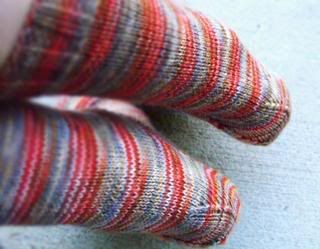
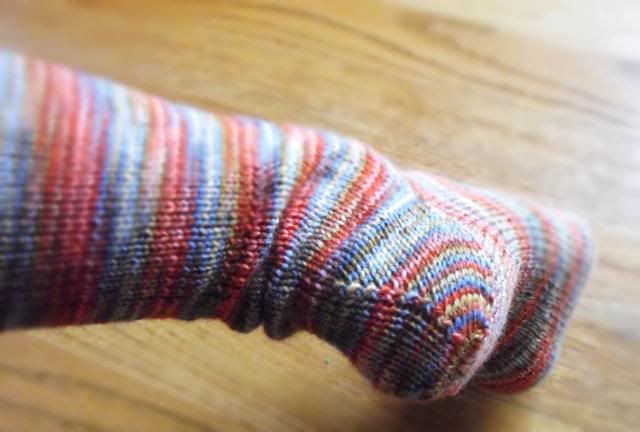
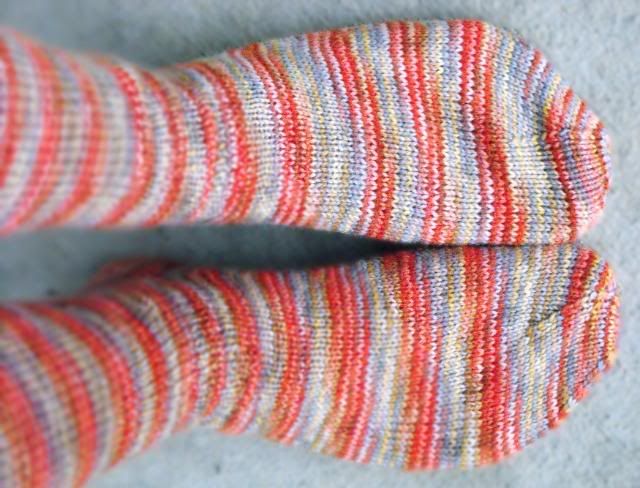
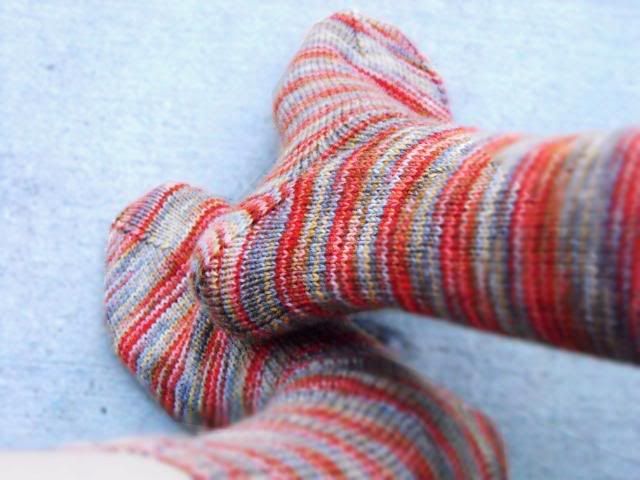 I like them. They feel very springish. You'll notice one curvy decrease on the heel in the photo below, but if you turn the foot, you'll notice that they are actually decreasing at 4 points. It's kind of tripy with variegated yarn.
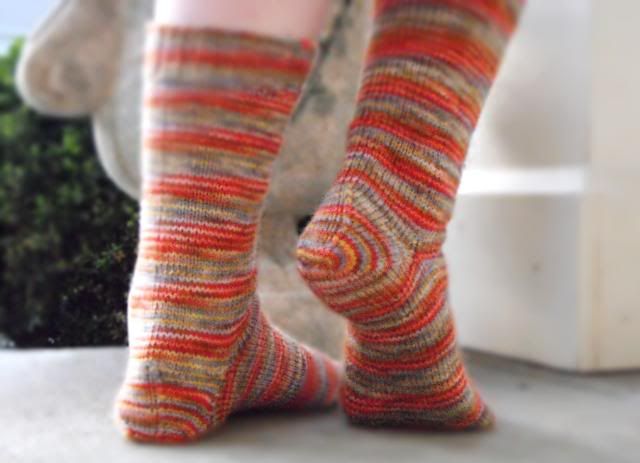 I hope you like these socks!


 I have a medium-dark chocolate color (almost exactly like this color...maybe a touch less reddish hue, looking through my monitor. See the first picture for a better view), which I think looks great, but does it look better than the lighter brown?


