I've been working my arse of today finishing up my "Tie-the-Knot" wedding shrug. I have finally completed it, but I would first like to share my little "adventure" or should I say harsh "realization" after I casted off the last picot: 2 bobbles. MIA. For all to see. Freakin monkies...
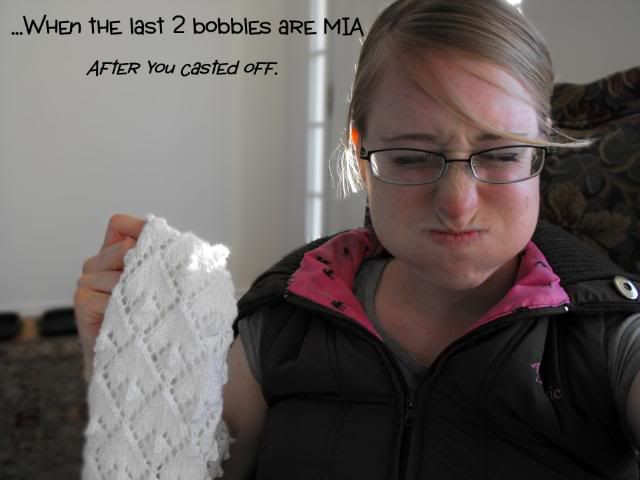
I should have seen it coming. I mean, I practically did the whole thing perfectly, only frogging a few stitches when I goofed up a bit while paying attention to cooking, or the radio. I had it coming, right? The very last bobbles of the pattern somehow got overlooked, I should say. I blame "FO-itis" enthusiasm. It had to be that. Anyways, the fact of the matter was that I couldn't-and cannot-leave two open spaces where the bobbles should have been. Every ounce of my near-perfectionist attitude screamed for me to fix it. (But of course not frogging it back to the problem area, no, that would be the "right thing" to do.) I'm much too lazy for that. I "Fudged it," I like to call it. And those faux-bobbles look damn near-perfect. Almost identical to the real ones. What a relief.
So here's my "unconventional" MIA bobble technique. Its for knitted bobbles, so you'll have to reverse the "knit" or "purl" instructions if you want yours just gartered (to just purling both sides). You can also change the size of the bobble by knitting/purling less or more. If you want yours bigger, just make more stitches by KF&B into the stitches you pick up. If you want it smaller, don't "M1.
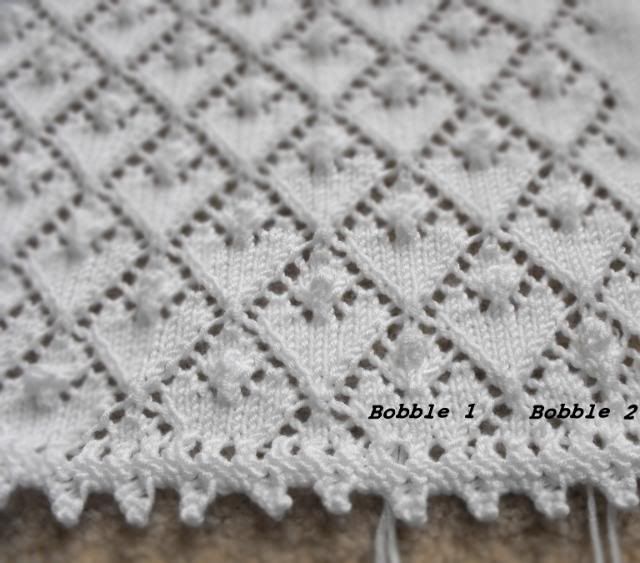
"Okay-dokie. So here is the culprit:
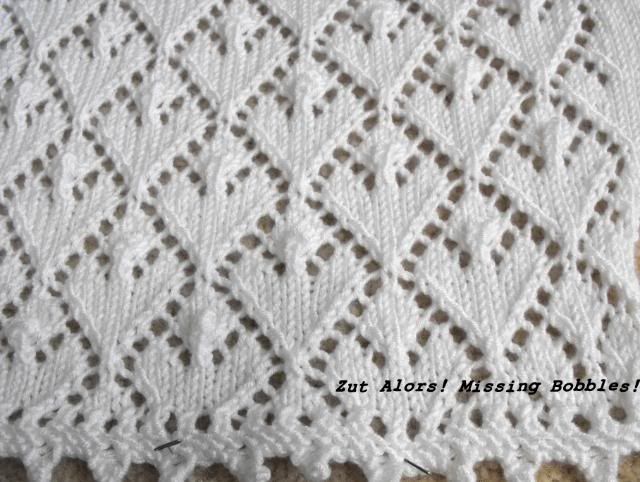
Stare and glare at it. Then make your peace and move on.
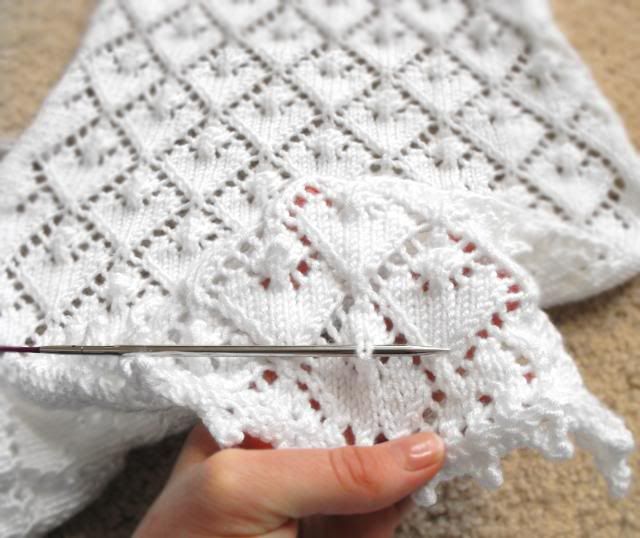
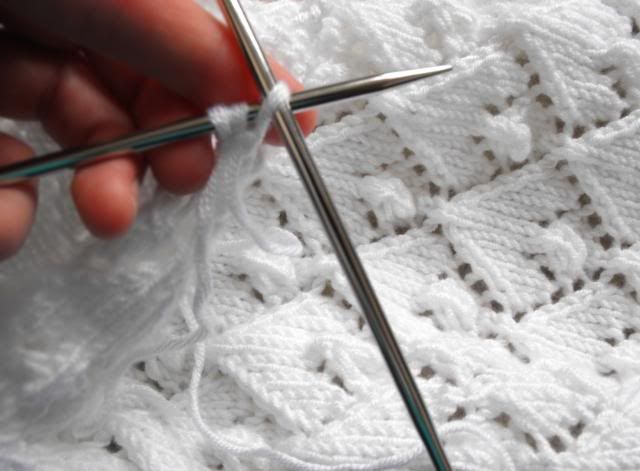
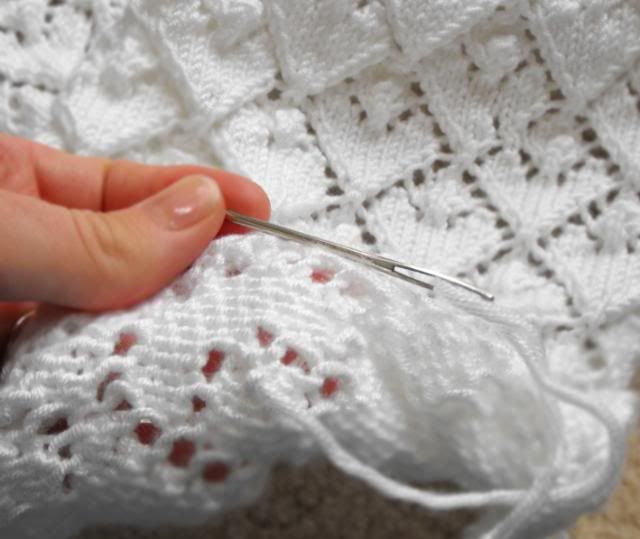
Step 1: insert the tip of your needle into the "V" of the stockinette, where the beginning of your bobble needs to be (the smallest point of the bobble). Use the same size needle as your work.
Step 2: attach the yarn, knit into the first stitch, M1 (pick up 1 stitch inbetween the two stitches), knit that stitch and also the last stitch on the needle. You'll have 3 stitches now on that needle.
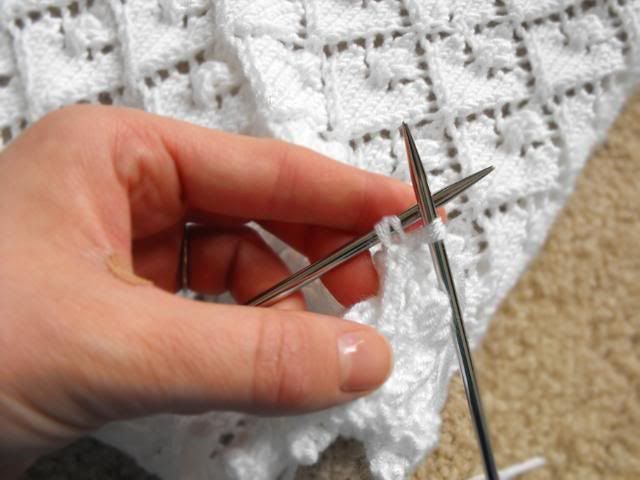
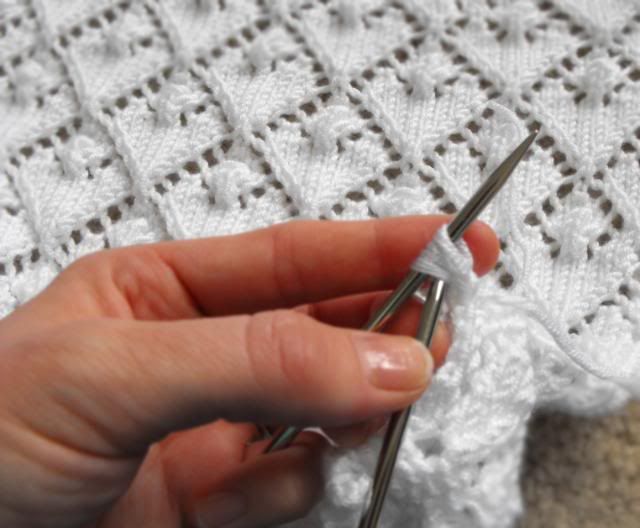
Step 3: turn your work. Purl the 3 stitches. (knit and purl another row if you'd like yours a lot bigger)
Step 4: turn your work. Knit those 3 stitches together.
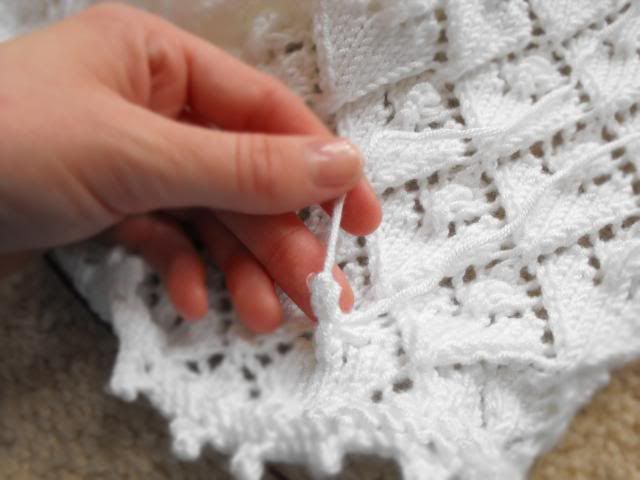
Step 5: with your remaining stitch, cut your yarn and secure with a knot.
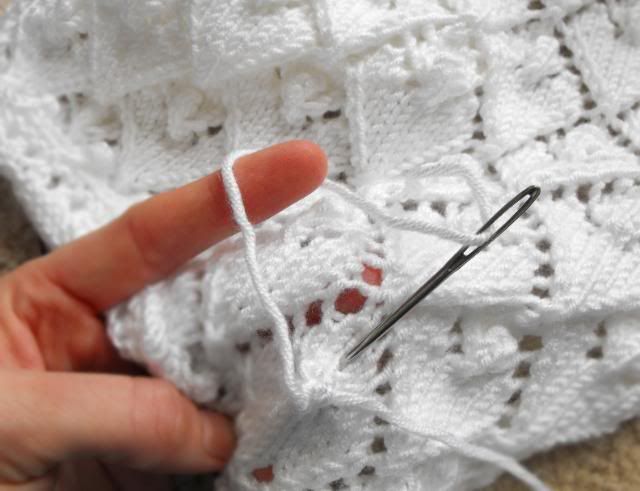
Step 6: use a darning needle to thread the yarn connected to the last stitch and push it through the middle of a stitch (behind the bobble) on the right side of the work and into the back side of the work. Do this in a spot where you want the top of your bobble to fall flat against. It will keep the bobble nice and secure...and not flapping around. Thread any remaining threads into the back side of the work as well.
Step 7: Secure on the wrong side a knot and weave the remaining strands into the wrong side of the work.
Step 8: breath out & relax. The nightmare is over. You can now go back and enjoy your work. You are the boss of those bobbles...and not the other way around.
I hope you enjoyed this tutorial. I'll post about the actual wedding shawl soon! Stay posted! :)


6 comments:
I don't think I would have noticed the missing bobbles unless you pointed them out....
Even after you pointed them out I kept looking for them.
I would never have noticed if you hadn't pointed it out. Even then, I had to look pretty carefully to notice.
The tutorial, however, was great! Thanks for sharing.
PS, it looks lovely!
Very clever idea! Can't wait to see the finished work!
Nice save!
wow - Houdini has nothing on you! Shazam!!!! Your photography is wonderful,and your knitting is even more beautiful!!!!! Bravo!!!
Post a Comment