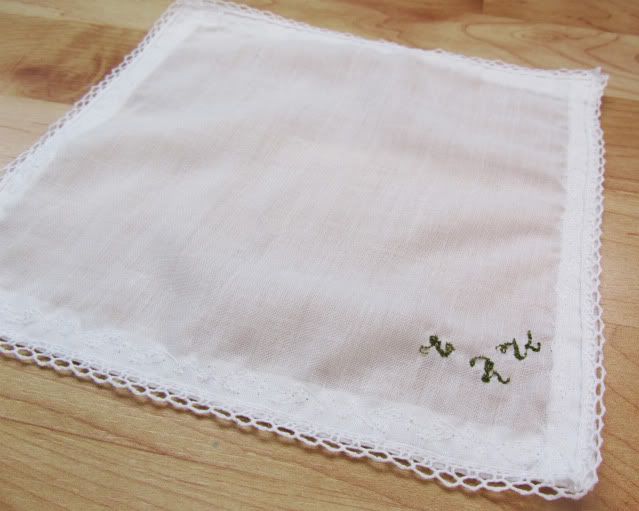
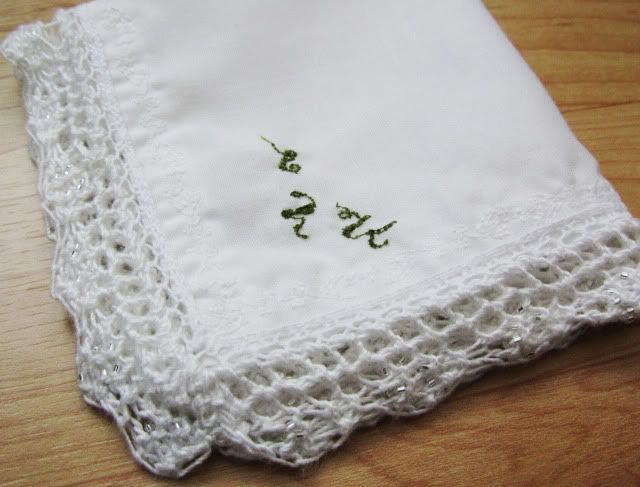
So I got this idea in my head-you know how that goes-that I could "whip up" a bridal hankie for a friend of mine who is to wed this Saturday as part of her wedding gift to her. I mean, how hard and time consuming could a lacy border be around a small cloth? Well, with a deadline of one week I knew I was cutting it close, but a small project like that should reap instant gratification, shouldn't it?
Oh, ho ho-how wrong I could be. Apparently, the main part of the whole operation, the women's handkerchief cloth is a rare breed. I searched many stores like Kohls (first time-consumption). Then I went to JoAnn Fabric's and Michaels (second time-consumption) in search of some semblance of a hankie (Michaels only has white bandannas, which I started to use until I did my practice hankie). Then I finally bit the bullet and went back to JoAnn's to find thin cotton cloth that is soo thin, you can see your hand through it. If I was gonna do this the hard way, I wanted it done right. Then, the next biggest time-consumer was finding a way to punch holes into the fabric like the old lace book with a hankie I got inspired from in the first place. No one, not even the stores could figure out how to get those holes in the fabric to crochet an edging into. And the darn book mentioned that you could buy hankie fabric at stores. Lies. After spending much time and asking around, my second visit to JoAnn's proved fruitful from an employee's suggestion to buy lace and sew it on...which I didn't want to do, since it would discard the whole reason to make the heirloom-type of hankie in the first place. HOWEVER, when she mentioned it, it brought up the idea of a thin helper-lace to sew on, which was just the ticket!
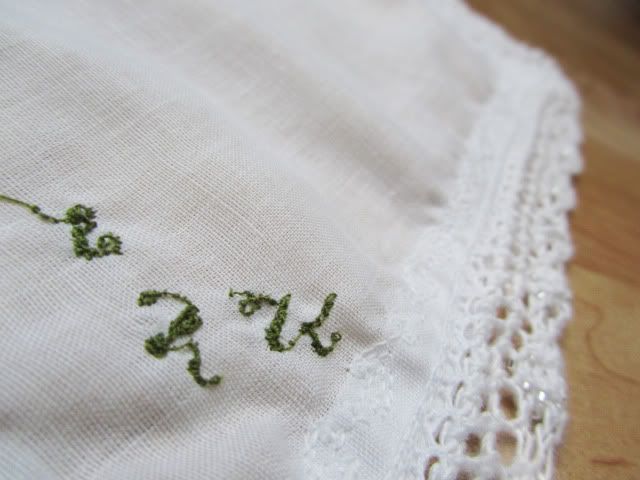
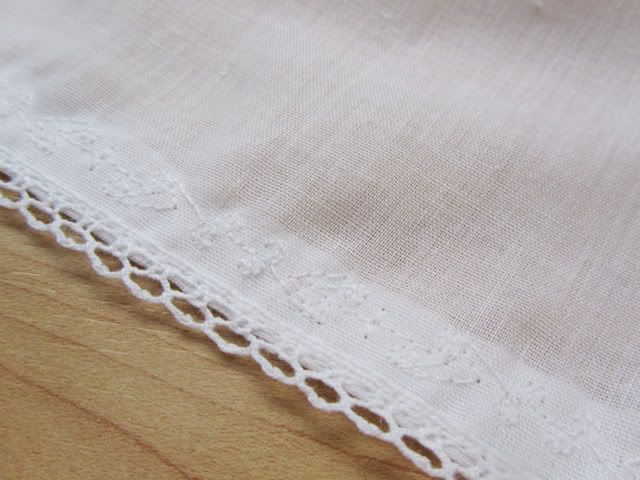
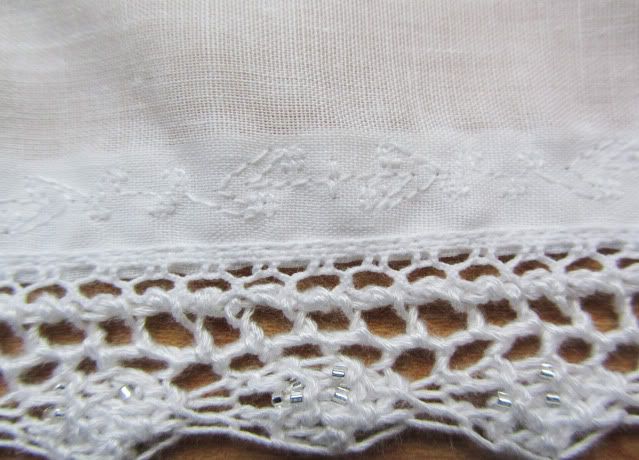
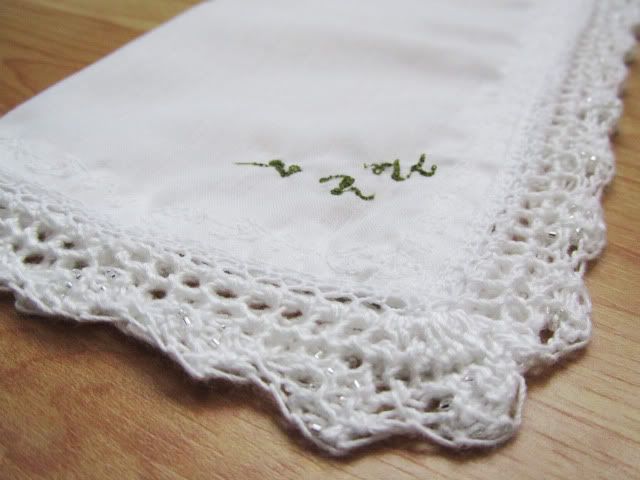
It was all downhill after that. I did some practice rounds on scrap hankies to practice the embroidery of her initials and embellishments around the edging. That was...fun..., not. I must have done dozens of letters, using a pen to mark the direction I started. The key is: if you wanted the letter to face you from the corner, you have to turn that corner to the left before sewing. Seems counter-intuitive, in my opinion. For some reason, when you try to embroider a letter, it doesn't face the direction that you sew and the size of the letter seems to be up for grabs to when you haven't mastered it. Thus being said, after I spent all the time on the "final hankie" (hankie two, might I add), I watched in horror as the "E" was higher than her other two initials I did. After hours of non-existent freetime...I was just gonna live with that imperfection. After sewing the hem with a lovely design from the machine, I sewed on the tinsie eyelet lace as my helper holes to knit the lace edging on, and off it went. I really love the silver beading on it as well. It really adds a nice fancy touch.
I hope my friend loves the hankie. It has that antique feel to it. Even if she doesn't use it to shed "tears of joy," she has a really beautiful hankie for her wedding day and memory box. I wrapped it up in silver tissue paper and tied together with a green ribbon containing a "congrats and care instruction" tag.
My friend Kristi is getting married in a year in a half, so hopefully next time I'll have plenty of time to "whip it up" and master the art of embroidery placement.
In retrospect, it would have been nice to have one for my own wedding almost two Octobers ago. Wow....two years.
All the best to you, Miss Elizabeth. Soon to be Mrs. Elizabeth.


5 comments:
Beautiful job.
Here's a tip on the punching-holes-around the cloth issue. You can go to the sewing machine and use the blind stitch, which sews one zigzag into the edge and then three or four stitches off the edge. This makes the most fantastic, even loops around the edge without punching any holes, and you can hem the hanky at the same time, if press the edges before you begin. I like to shorten the blind hem stitch quite a bit for this. You can then crochet into those loops.
Umm you could have bought cross stitch linen, sewn the initials using cross stitch instructions and had beautiful even letters.Then do the lace and knitting. Don't you just hate know it alls? Now I have made wedding purses out of satin that I really struggled with. I think it might be the event and not the item. NERVE Wracking!!
Diana- I really don't sew much (or for anything put a pillowcase) or have played with the machine options until this last project, so I wouldn't know what button was the "blind stitch" but I'm guessing from what you're saying it's the zigzag looking one.
Pat- lol, I try to stear clear of all actual sewing needle processes when I can. Ironic, yes since I'm a knitter who works with "needles." I haven't cross-stitched in many, many years...and The sewing machine seemed more elegant with the cursive letters.
Loved this post! I collect vintage hankies and get so many compliments when people catch me using one.
I love how you talked us through the steps you followed to create this gift! Thanks, erin
My mom taught me how to make those eyelets into cotton: without hemming the fabric first, find the horizontal threads in the weave, pull a bunch out of the side one by one, you now have an empty spacing near the edge. Push these horizontal threads down closer to the edge so yiu can see all the vertical threads only. Now, as you start crocheting through them, push the crochet thread in between the vertical fabric weaves, knotting them once before continuing the crochet pattern. In the end you get a beautiful eye let row in the hanky's edge that the crochet is hanging on to :)
HTH!
Post a Comment