Showing posts with label FO. Show all posts

Thursday, December 31, 2020

FO: Silvestre Mitts

Happy New Year! I hope you find 2021 is filled with laughter, joy, good health and nourishment for the soul after the rough year we had.

Here's another project fresh off the needles, just in the knick of time! These are called the "Silvestre Mitts" by Skeindeer Knits. See my project notes here. I purchased the pattern and recommended yarn at the London Loop yarn shop while on our 10 year wedding anniversary trip in October 2019.


 I love including the WIP photos in the FO post so that you can see the entire (1 year) journey:

I purchased these beautiful mitten blockers a year ago from the Etsy seller Mlyn Jedrow who creates them in Poland.

And there she is, all in her Norwegian glory. I think I upped my Norwegian heritage up a bit by knitting these. ;) It just snowed the other day, so these should keep my hands toasy warm!

Have a safe and healthy New Year. May it be everything you hope it will be. <3

Saturday, December 26, 2020

FO: Christmas 2020 Socks

Merry Christmas, Happy Holidays, and (soon to be) New Year!

This year has brought many changes and trials that we have had to overcome. It's been a much slower knitting year for me due to spinal and joint alignment issues that I have been struggling with since March, but after many weeks of chiropractic and physical therapy visits, I am starting to feel stronger and able to heal more. I am hoping that the new year will bring my body back to normal.

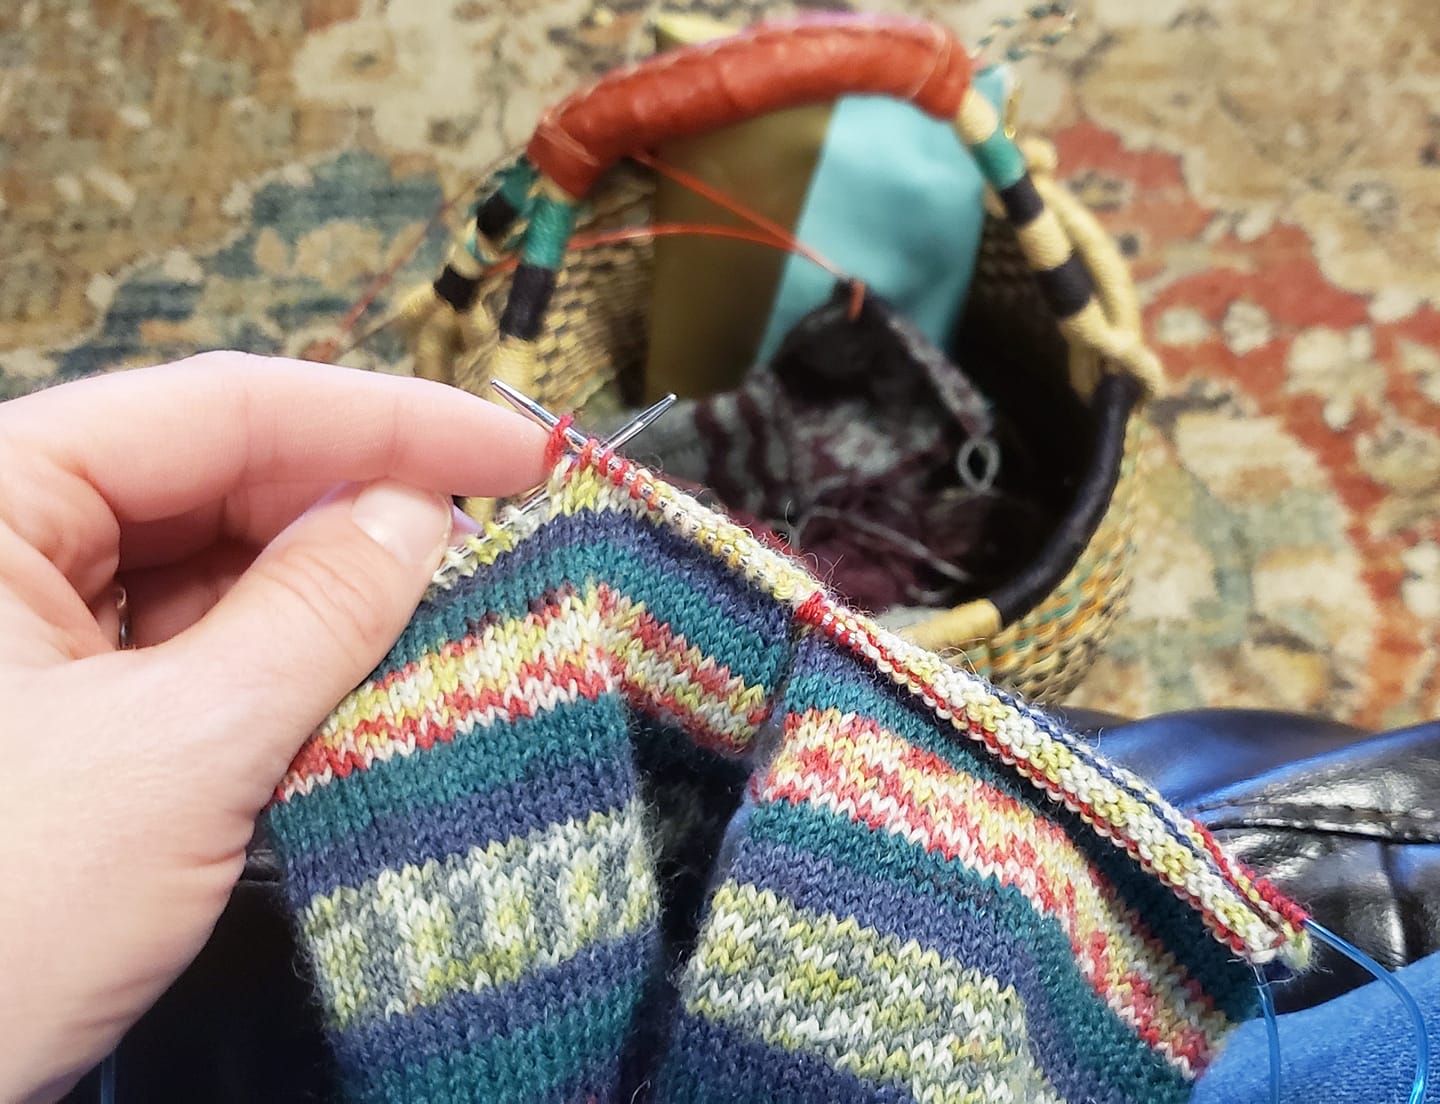
Nevertheless, I have finished my Christmas socks in time for the holiday, and so let me share the finished knit with you:

Ironically they matched some my surroundings, such as my knitting basket, a rug at a play-place my kids were at at the end of 2019, knitting bags and such. I have been working on these socks casually for over a year, and that's okay. Life is too short to care about missing the boat.

You can find the project notes here.

These were knit two-at-a-time, which is nice for trying to get the socks to match up identically, but I find finicky in terms of yarn tingling management. I still go back and forth in my mind to decide whether or not to do future socks as singletons.
These socks took me a year, but I'm okay with that. Time slipped away from me this week and I intended to cast on next year's Christmas socks before the holiday, but I'll do that now that the crazy Christ-massing is done. 

Here's some photos that capture our merry-making this Christmas:


Spiced sugar cookies, kolaczkies (not shown) and really scrumptious peppermint macrons with fresh Italian (peppermint) buttercream.
One twin still wears Halloween and Thanksgiving wear, and the other twin is ALL about Christmas! Can you believe that they are 10 years old now?
No, we do not know how to make the appropriate amount of appetizer food for a small amount of people! 
Don't loose your humor and silliness people.
 
I know that the weather has turned cold, but don't forget to some fresh air and sunshine throughout the week to nurture your physical and mental health... and vitamin D3 supplements! 

I wish you good health and much happiness from this year into the next!

Wednesday, September 16, 2020

FO: Sack Boy Dolls

What's another quick project that I finished last year? Little Big Planet Sackboys for my boys!

I started first with the brown sackboy, which has the open mouth and tongue details similar to the cover of the game. I'll walk you through the process, but you can find my complete project notes here.

I started knitting the doll at the base of the neck. Once I was at the level of the eyes, it was time to start the mouth. I basically treated the mouth area like an afterthought heel. I evenly put the mouth stitches on the circular needle before cutting the stitches between. I knit the mouth in black, and then decreased the sides of the mouth exactly like the toe section of a top-down sock. To finish, I grafted the leftover stitches together. (I added the KAM snap buttons before deceasing for the head after knitting the head for a few more rows.)

After the sockboy's body was knit and connected, I knit the legs and arms, attaching the 20 mm doll joint screws through the middle of a stitch before decreasing and binding off the limbs. They were snapped into place before stuffing the body.
The neck section proved difficult to support properly against the weight of the brown sackboy head. I ended up adding a pen to serve as the spine bone. Then, I stuffed the sackboy as much as I could without him looking like it was time to start a weight watcher's diet.
 
I choose a small inexpensive zipper and cut it to size and then hand-sewed it to the open chest cavity. Even a sackboys needs a heart, so I cut a small one out to place inside his chest! It's not practical to have the zipper freely zip up and down with no barrier between it and stuffing, so I sewed underneath the zipper with some thread so it was no longer functional.
The finishing touches were adding faux sewing accents and hot-gluing a tongue inside the mouth. I attempted to sew the black mouth parts into the stuffing to give the open mouth less of a bloated look, but was a bit unsuccessful. Overall, I was unhappy with the water the face came out, which is why the next one I made had a closed mouth.

Project Notes
Sackboy by Alan Dart, heavily modified
 
Brown Sackboy Materials:
Needles: US 6 - 4.0 mm
1 skein = 210.0 yardsin in the color Brown for the body
A handful of yards of Yarn Bee Must Be Merino 7 Black
20 mm Doll joints, stuffing, zipper, red felt for tongue/heart & size 20 KAM snap buttons
 
Tan Sackboy Materials:
s: US 4 - 3.5 mm 
Yarn: Can't find the label. It was sport weight yarn that was really smooth from Hobby Lobby. I wrote down "Symphony Yarn," but can't seem to find that online.
20 mm Doll joints, stuffing, zipper, red felt for heart & Size 20 KAM snap buttons

I'm not crazy about how the mouth panned out, so sackboy #2 was a big improvement, in my opinion:

Even he has a heart!

Monday, August 24, 2020

FO: The Dockhouse Sweater

Guys, this raglan is one of my absolute favorite FO's ever. Period.

It is warm, squishy and has an appealing diamond texture in a captivating heathered green colorway. The V-shaped collar has faux buttonholes, and you can't go wrong with a long-sleeved raglan construction. Plus, let's talk about green clothing...you can sport it for so many occasions, espeically St. Patty's day, Halloween AND Christmas! 

(If I were Emeril Lagasse, I'd say "BAM!")

 
Materials & Notes
 
US 2 - 2.75 mm
US 3 - 3.25 mm
US 5 - 3.75 mm
 
US 5: 23 stitches and 34 rows = 4'' in the Diamond texture
 
Yarn
9 skeins = 1296.0 yards (1185.1 meters), 450 grams
4275 Pea Soup Mix, dye lot 701 
 
Notes:
Sport weight yarn, 216 sts

Total active days knitting it: 44
      Sleeves: 3-ish days each sleeve---plan on a week for a pair of sleeves
      Front or back sides, after armpit BO’s : 2-3 days each
      Bottom ribbing: 1-2 days
      Collar 1-2 days
      An average of 8-12 rds of 216 sts per day.

457g of yarn (1 lb 1oz) of yarn.


This was another project that I chipped away last August while at a family reunion near Galena, Il. Here's a little journey into my WIP stages:
That feeling, when you finally try it on and it fits perfectly!
 
I had to re-knit one of the sleeves due to an error on my part, so after I knit what was three sleeves, it was so satisfying throwing it in the wash.

Aw. The photo above was taken in what was my newly renovated bathroom at our last house, several months before moving. I miss those counters and mirrors...

As soon as it gets chilly this will be coming back on me!

FO: Rainbow Socks

Buon Giorno! Good Day!

As I began writing this next installment of "make-up posts," my kids finished their first day of e-learning at a new school district, and the quiet that once enveloped the house earlier could no longer be found, as they instantaneously became a bucket of energy. Yikes.

Anyhow...how are you? What have you been up to? Staying sane? Staying healthy?

I am continuing my journey of learning Italian. I started after the new year, then took a break around when we moved in the spring, then started learning more, then took a short break, and now it's about fall...it's time to get serious again! (I actually like being "the student.")

So, what's off the needle (as of a year ago?--eek): Rainbow Socks!

They are so pretty and cheerful. I specifically knit these during the warm months only. That means that I took two summers to knit each of the sock mates, and that was ok with me as I had other socks that I worked on too.

Materials & Notes
US 1 - 2.25 mm    US 1½ - 2.5 mm 
 
17.5 stitches and 23 rows = 2 inches 
 
1 skein = 465.0 yards (425.2 meters), 100 grams
9376 Over The Rainbow  dye lot #1604
 
Notes:
CO 72 sts onto 2.25mm/US1.
1x1 rib for 1.5'' 5 colors (T, G,Y,O,R), plus 2 rds of pink, then dec round in larger needle: (K16, k2tog)-2x, so 68 sts left.
Knit leg with larger needles until 7.5'' from CO edge.
I used Arne & Carlos' Short Row Heel Method. 34 sts heel. (Next time: work until 8 unworked center sts)
Knit insole 6'' (from heel edge), then decrease the toe sts until 12 sts left.

Since I've been slacking on "WIP" posts, let me take you through the entire journey:

These next photos were me taking this to two separate family reunion trips. The photo above was taken at a cabin surrounded by rolling farmland in Elizabeth, IL, near Galena, IL. The photo below was from a beach on Lake Michigan. 

Fun stuff! These reek of summer! The funny thing is that they are too warm to wear during the summer months, lol.

Stay tuned for me upcoming make-up posts. I've got three more FOs, and a bunch of WIPS.

Wednesday, July 08, 2020

FO: the Weekender Sweater

Long time no see, dear readers!
A year ago I started the process of updating you on my knitting adventures, and then I seemed to have fallen off the internet. It's been so long that Blogger looks different, and I had trouble logging in! In fact, I don't even live in that house anymore, nor use that phone! Ha.

I feel it's better to be late than not here at all, so let's take a look at the Weekender sweater that I finished in March 2019.


Since I didn't bother to make a WIP post, here's a quick tour of the process:

I used a tubular cast-on/off, because it's stretchy and clean looking. I highly recommend doing this for any neckline and hem to give it a professional finish.

Project Notes

The Weekender, by Andrea Mowry  Needles:
US 7 - 4.5 mm & US 8 - 5.0 mm


Yarn Bee Chloe  4.3 skeins = 1161.0 yards (1061.6 meters), 430 grams

:
20 stitches and 28 rows = 4 inches  in US 8

Notes:
I casted on for a size L instead of a M since I used US 6 needles and thinner yarn
CO 117sts with US 6. 1x2 rib for 2.5.'' Switch to US 8 needles for the body.
Days 1-2: tubular cast-on and completed bottom hem ribbing.
Days 3-13: body of sweater to 16.5’’.
Days 14-16: divided and knit the front bust section for 5.5’’, plus 1 row. Inserted a lifeline.
Day 17: worked W&T section and ribbing (US 6) for the front.
Days 18-19: worked on the back bust section for 5.5’’, plus 1 row.
Day 20: worked W&T section, and ribbing (US 6) for the front.
Day 21: finished ribbing, 3-needle BO, started sleeve #1
>>>Sleeve note: knit for 5.5’’ straight before starting the decreases. You will only get 9 total decreases. Knit 7 rows straight between decreases. After 9th decrease, the sleeve is 14.75’’ long.
Days 22-23: worked on sleeve #1
Day 24: worked sleeve 2’s ribbing and started sleeve #2.
Days 25-26: worked on sleeve #2.
Day 27: finished sleeve #2


I would definitely make this again, but in another type of yarn, such as something similar to Cascade 220.